Use this free self-employed invoice template and set up guide to work through customising it to match your brand. In this guide, you’ll find a simple UK self-employed invoice template that you can download, edit and use whether you work as a freelancer, sole trader or side-hustler. There’s also step-by-step guidance on how to customise your UK invoice template and advice on sending it out to your customers.
This guide is for business owners who are self-employed. If you have a Limited Company then you’ll need a different invoice template which you can find in this guide.
Table of contents
Updated 5 August 2021
1. What is an Invoice?
An invoice is a legal document sent by a business to request payment for work from its customers. It’s what accountants call a source record in accounting.
Although your sales invoices can take any format or design a business chooses, there is certain information that sole traders and freelancers are legally required to include, depending on their legal and tax status:
- Name and address of the buyer and seller
- Date of sale
- Invoice number
- Description of the product or service sold
- Quantity and unit price
- Total amount payable
- Amount and rate of any VAT applied
- Details of discounts applied or early payment discounts available
- Credit terms and due date for payment
- Bank details
- Company registration numbers if available
2. Self-Employed Invoice Template
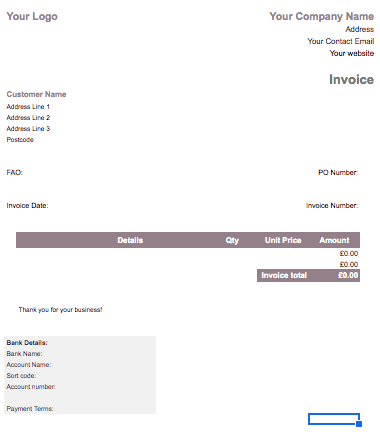
Download a copy of my basic self-employed invoice template below. Choose which template is the right one for you, depending on whether you are UK VAT registered or not. This UK invoice template opens in Gsheets and you’ll need to save a copy to keep for yourself:
You should only charge for VAT and show VAT if you are VAT registered.

3. Customise the Self Employed Invoice Template
Now you have your UK invoice template to bill for your work, you’ll need to customise it so it’s right for your brand and business.
3.1 Add Your Details
Begin customising the self-employed invoice template by adding your:
- Logo
- Business Name
- Address
- Website (follow this guide if you want to set up a website but aren’t sure where to start)
- Email Address
- VAT number (only if you are registered for VAT)
- Bank details
3.2 Add Your Payment Terms
Payment terms mean the length of time you give your customers to pay you. In effect, you are giving them credit, especially if you deliver your product/service up front and then wait to get paid. Typical payment terms are:
- Upon receipt of invoice
- 7 days
- 14 days
- 30 days
What these payment terms mean is that you are agreeing to give your customer an extra number of days to pay you after the invoice date. Choose the one that is right for you. However, in reality, there may be some industry standards you just need to adhere to that will govern which one you select.
Also be aware, that some companies, especially the larger ones, may not be able to accommodate short payment terms despite your requests for administration reasons. Alternatively, some may even dictate how many days credit they get from their suppliers.
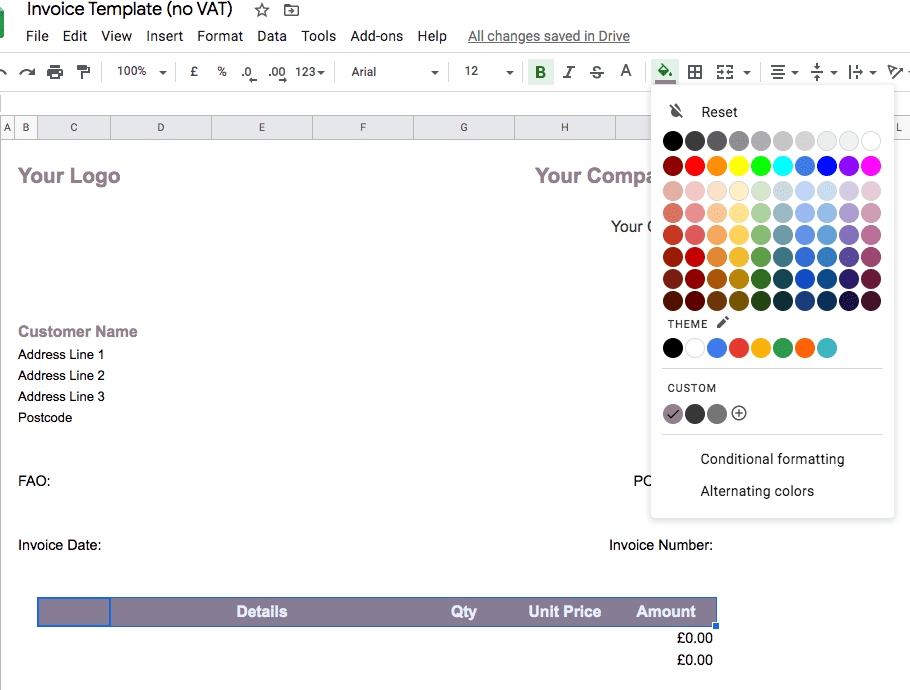
3.3 Change the Branding of the Self-Employed Invoice Template
I’ve set the basic UK invoice template up with my brand colours so you’ll want to change them to match your own branding. In fact, depending on how confident you are with Google Sheets, you can add almost any parts of your branding you like. Highlight the cells you wish to change and click on the ‘fill’ button on the bar to select your colour.

3.4 Add Your Customers Details
You need to make your invoice out to your customer so they know it’s for them. You can overwrite the Customer Name and Address lines on the template.
3.5 Enter the Invoice Date
Usually this is the date that you are raising the invoice. If you are using the VAT registered version of the template, then you’ll need to enter the tax point or the invoice date. Choose whichever is applicable to your transaction.
3.6 Enter Your Invoice Number
You need to include some kind of reference or number on your sales invoices. It is a legal requirement because if HMRC ever investigates your business they will want to review your invoices in numerical order. This is an easy check to confirm that you have included all your invoices in your accounting records.
You don’t necessarily need to start at number one; in fact, many people choose not to because it hides how new their business is. However, whichever invoice number you decide to start with, be consistent and don’t omit numbers.
3.7 Enter Invoice Values
Now you can start entering details of the money you are owed! Give your client as much information as possible to avoid questions and delays for them paying you. The template will automatically calculate the individual amounts and totals.
If you are using the VAT version, you’ll need to select the appropriate VAT rate from the drop-down list. It is a legal requirement to show the VAT rate you are using on your invoices.
3.8 Save a Copy of Your Self Employed Invoice
You must keep a copy of all the invoices you send out as part of your bookkeeping and tax records.
3.9 Send it to your client
Finally, the last step is to send it! The sooner you get the invoice out, the quicker you’ll get the cash into your account! Usually, you can send your invoice to your customers by email. To make the payment process smoother, it helps to make sure you sent your invoice to the right person so check with your client where your self-employed invoice should go to.
4. What is a Credit Note?
In the event that you need to refund your client or customer, you may need to raise what we refer to as a credit note. A credit note is in essence the opposite of an invoice. You can download a credit note template here.
5. Automated Invoicing
Using spreadsheets can feel onerous, especially if you are raising lots of invoices either daily or monthly. Automated bookkeeping systems let you do various things that speed up your invoicing such as:
- Store customer details to make your billing quicker,
- Add files that can be attached to invoices
- Email invoices straight to clients
- Add options to ‘Pay Now’ such as by credit card or Paypal
- See if customers have viewed invoices emailed to them (so a customer can’t deny receipt of the invoice)
Automating your invoicing and bookkeeping with a cloud-based package such as Xero can save you an immense amount of time, as well as prepare you for the changes ahead with Making Tax Digital.
Related: